Hey all! I’ve got a single-layered pop up card for you today.
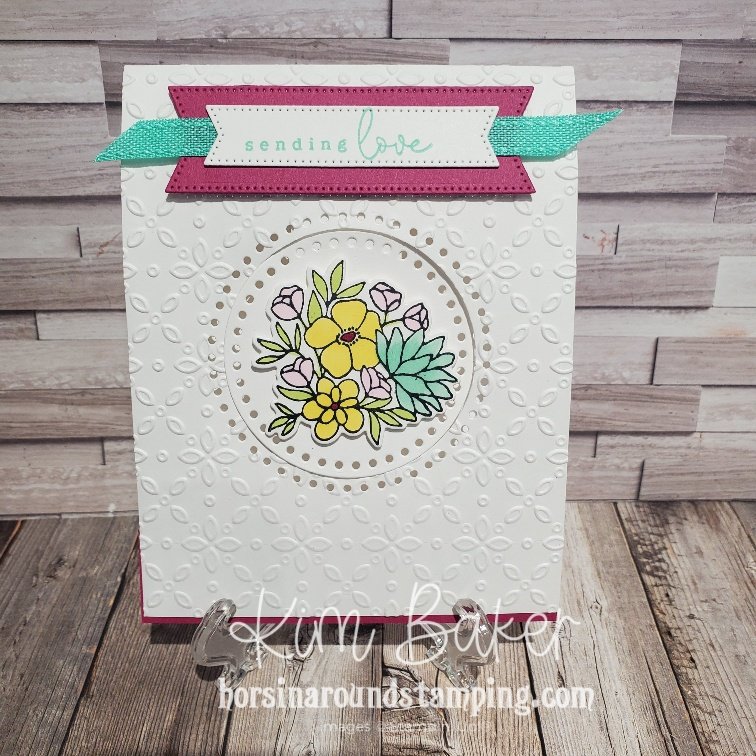
As I mentioned a few posts back, I don’t usually make single layered cards. I just can’t seem to stop myself but because this card is cut out in the front, I opted to not add a second and third layer. Instead, I made my die cut then I embossed the cardstock using the Eyelet 3D Embossing Folder. That gave it some nice dimension! Another thing I rarely do, is use white cardstock for the base of my cards. I like to live life in color 😉 This card was a big stretch for me 😮
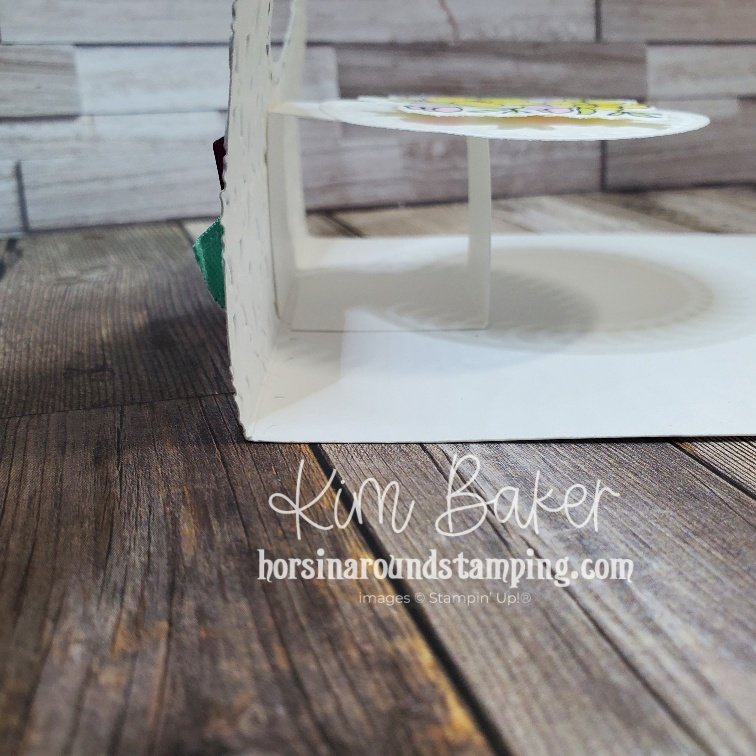
It is, however, a fun fold, so I was back in my comfort zone! LOL! All I did to make the cool pop up was take a 1×5 piece of cardstock and score it every 1¼” (1¼, 2½ & 3¾). I stuck the 1×5 piece down by only adhering it on the top & bottom of the card base- along the crease. Then I adhered the die-cut circle onto the strip-just where you could see it through the hole. Viola! Pop-up!
I’ve made a few of these types of cards in the past. They’re awesome and not too hard for a beginner crafter. We even made one in class once.
I added Berry Burst & white banners to the front with the sentiment but separated them with a piece of the beautiful Summer Splash ribbon.
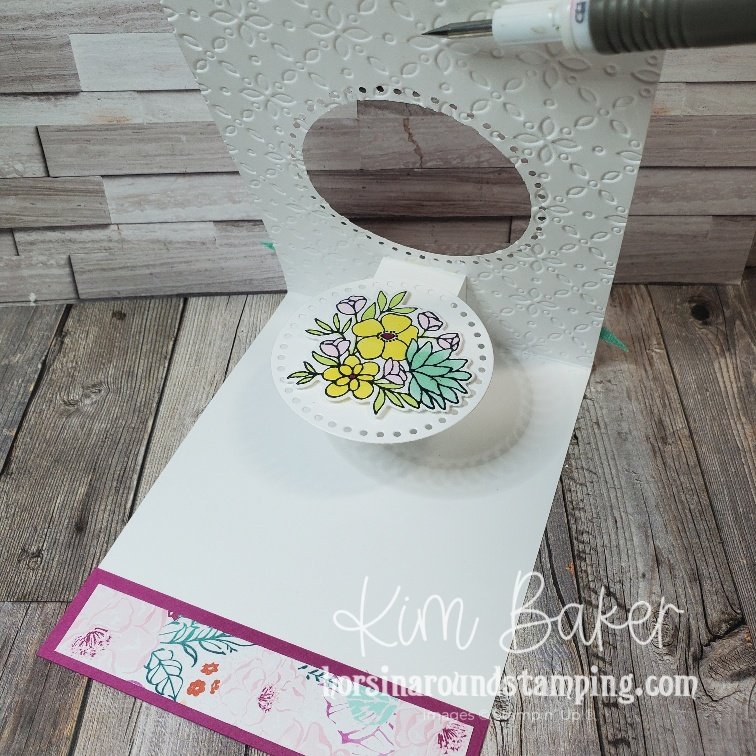
Inside, I layered a snip of Berry Burst CS with a snip of Unbounded Beauty DSP. The Die cut flowers on the circle were stamped from the Country Flowers stamp set, colored with Stampin’ Blends then die-cut with the coordinating die.
If you haven’t tried this fun fold before, I really encourage you to give it a go. I think you’ll like it 🙂


 Designer Series Paper")
")


 Bordered Ribbon")


[…] I chose to make another pop-up card like the one I featured just a few days ago. You can see it by CLICKING HERE. The cards are opposite in orientation, so it’ll work either way. I LOVE this fun fold. […]