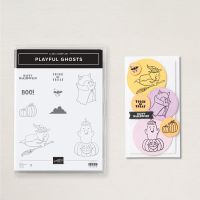
Happy Friday the 13th friends! I have a cute Halloween card for you in honor of this day. 😉 I really enjoy Halloween if it’s the cutesy Halloween stuff. I’m not a fan of the bloody, gory stuff, so I’m really diggin’ this adorable ghost set. 😉 🎃👻
Do you ever see an image of one stamp in a stamp set and immediately get an idea of what you’d like to create? Normally I ponder, ponder some more and research for inspiration before I decide, but I knew from the moment I saw this one and hoped it would work out. Sometimes those big ideas don’t come to fruition, right? LOL
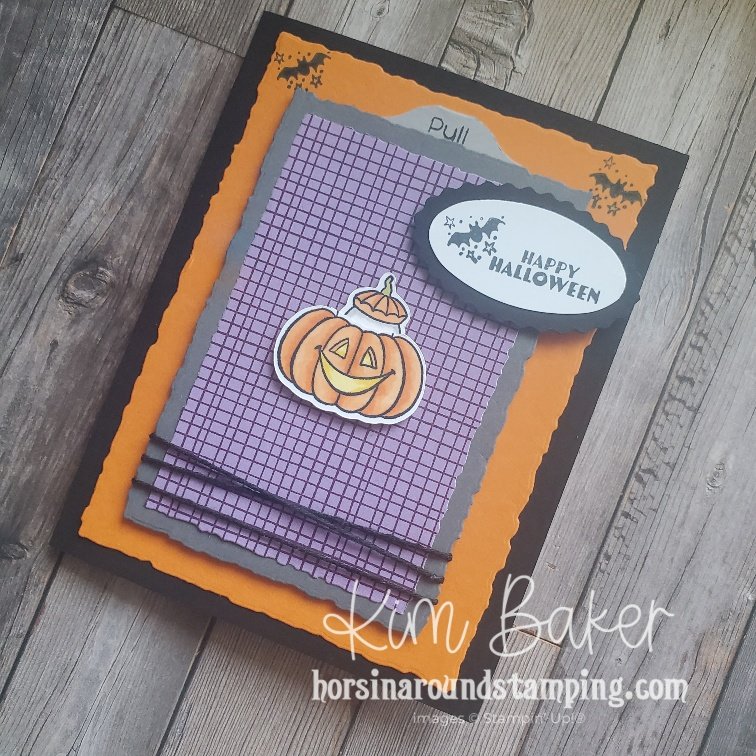
Now, I must admit, in my head, this image was bigger than it actually is. If I were to make this over, I would use a smaller deckled rectangle. I feel like the purple square is just a bit too big, but that’s me being my own worst critic 😉
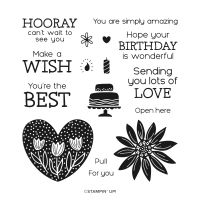
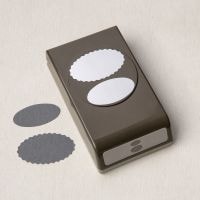
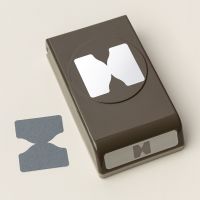
The Keeping Tabs punch and the word “pull” in the Hooray for Surprises stamp set were very helpful in this card coming together.
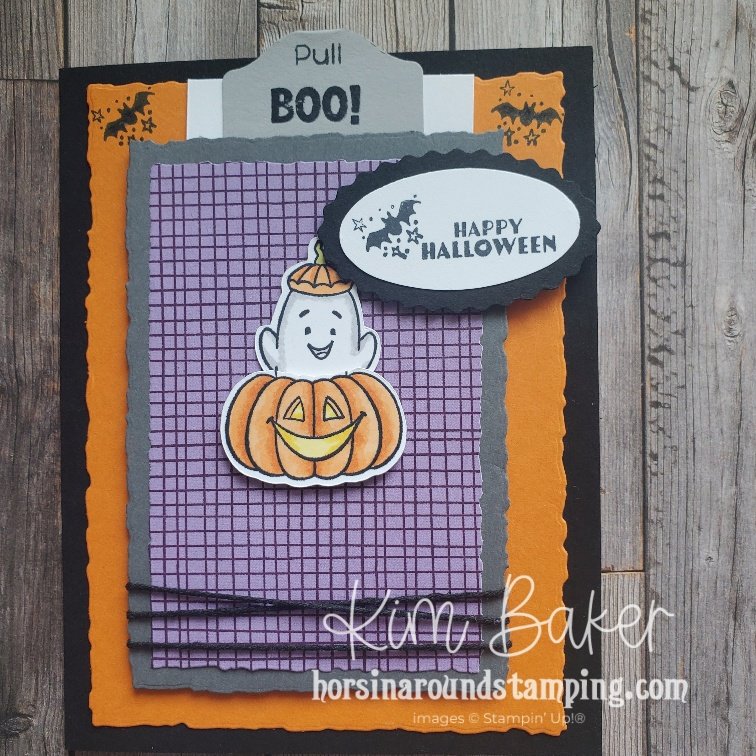
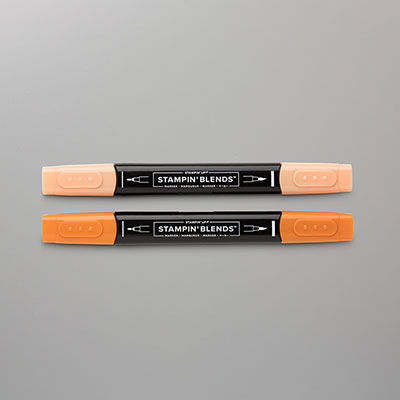
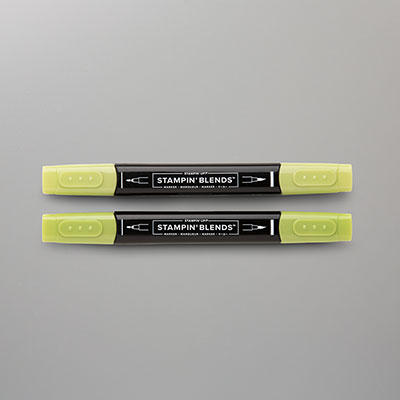
How did I make this? Lemme show you. I started by inking and coloring the ghost in the pumpkin image with Memento ink and my Stampin’ Blends then I cut it apart across the top of the pumpkin-separating the two and then I put them aside.
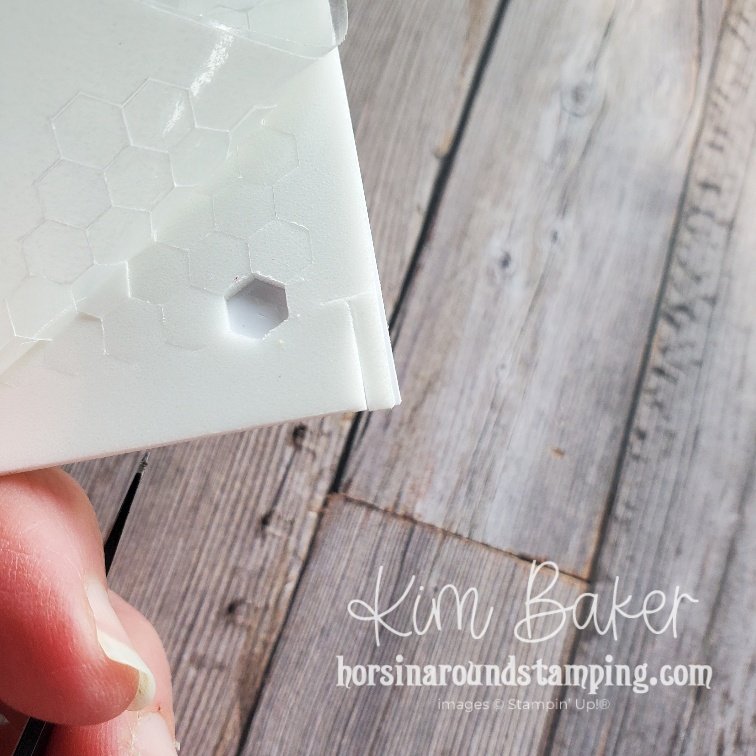
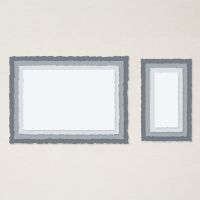
I took the tiny piece from the Perennial Postage dies below and die-cut it out of my middle rectangle after adhering the DSP to the Cardstock.

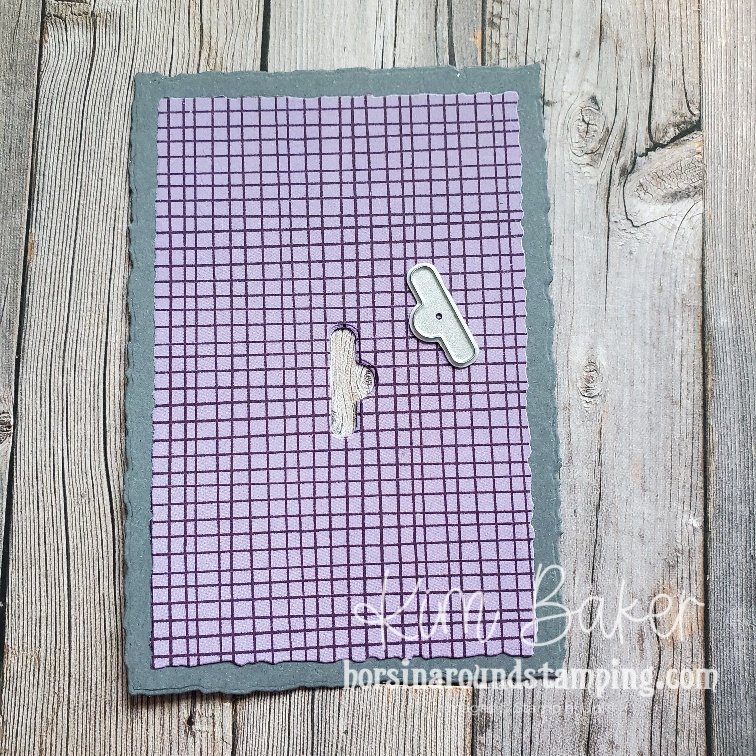
Easy enough, right? Then I added a 2½ x 3 piece of Basic White Cardstock behind the opening and flush with the top of the rectangle.
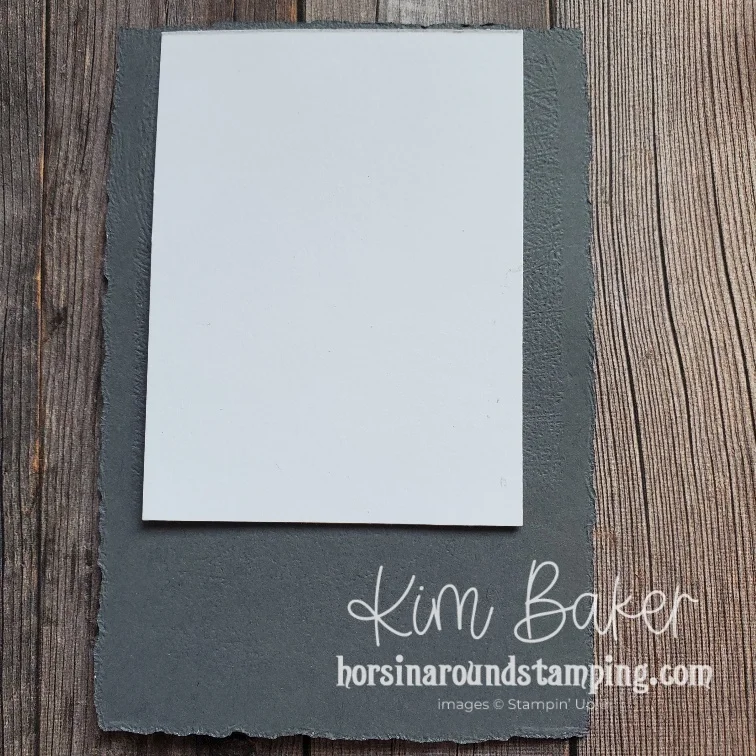
I cut a dimensional down so it would fit through the cut out and onto the white piece.
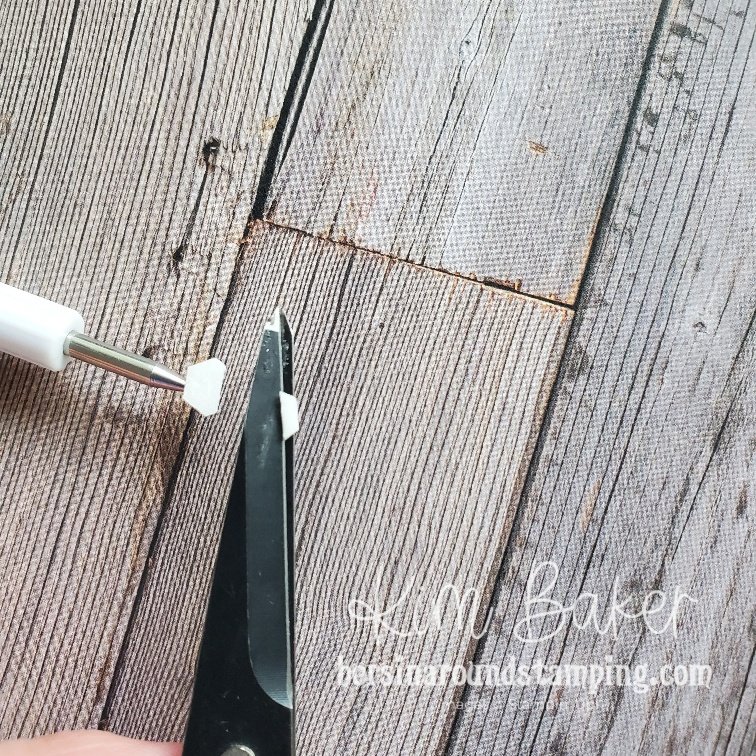
Then I stuck the ghost section onto the top of the dimensional (sorry I forgot to take a pic) 😳
I then cut the edges of my dimensionals into strips and put one on each side of the pumpkin-ensuring that they were out of the way of the ghost sliding up and down.
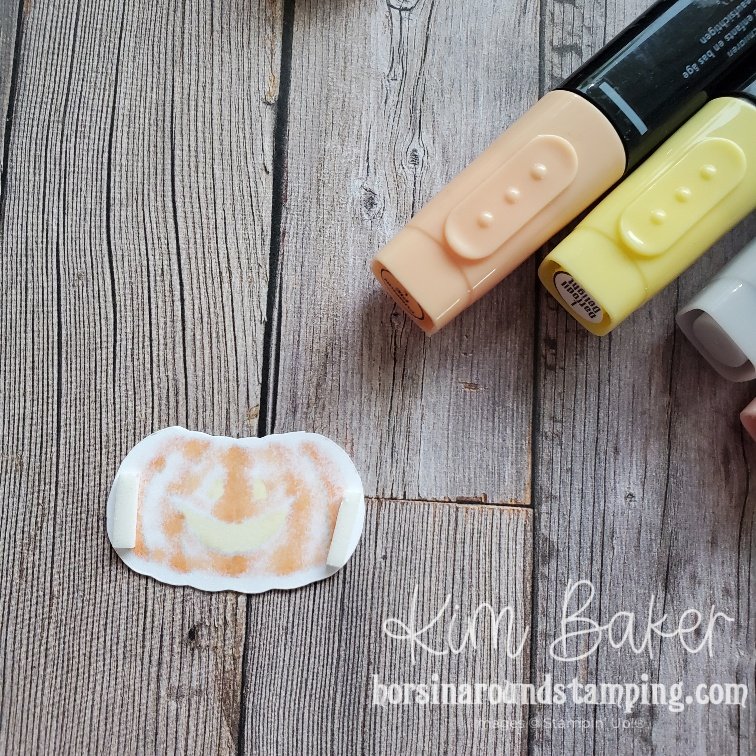
I placed the pumpkin over the top of the ghost while it was all the way at the bottom of the small die-cut section. Then I flipped the entire panel over, added the pull tab and placed mini dimensionals all around the sliding mechanism (to make it stay in place when it slides.)
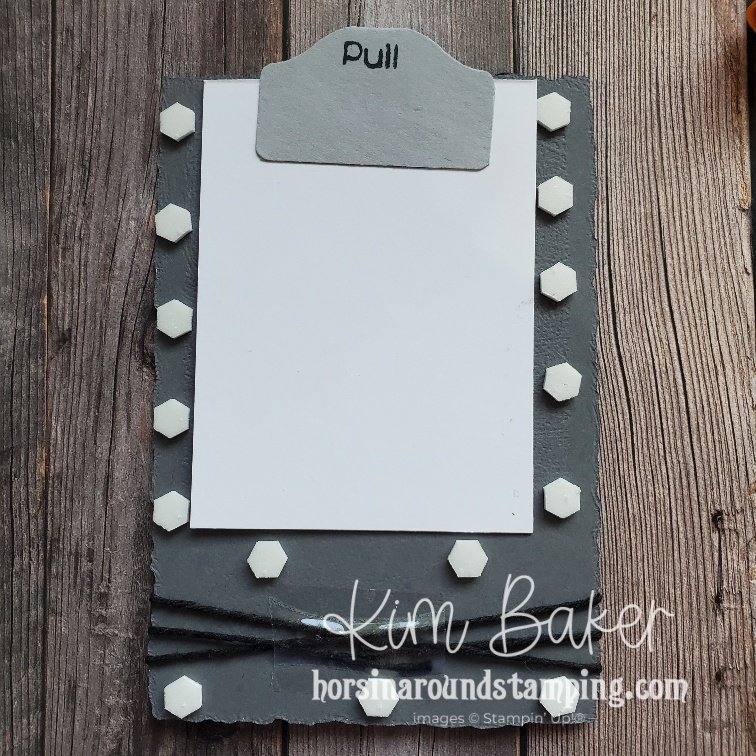
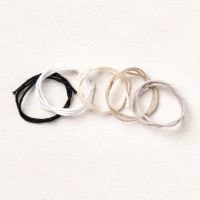
I added some black twine to the bottom then attached it to my already stamped card front.

A little decorating inside and the card is finished.
So, what do ya think? I’d love to hear from you. That’s all I’ve got for today. Have a wonderful weekend and I hope you get time for some creative therapy!









Leave a Reply