Howdy Stampers!
I made this card waaaaay back in February and it’s sat on the back burner ever since! I just never got around to writing up the post. I had seen these hexagon pop-up platform cards all over but none of the ones I saw fit into an A2 envelope when they were done. So, I went about figuring out my own measurements to make that happen. All measurements and the way to put the base together are in my youtube video below. If you click on the youtube logo at the bottom of the video, it’ll take you directly to their site and can subscribe to my channel while you’re there. That way you won’t miss any future tutorials! 😉
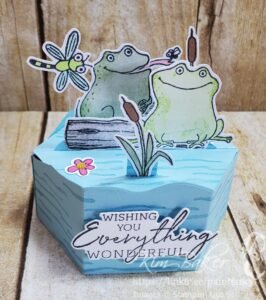
Just look at those cute little images from the At the Pond stamp set. They don’t have dies. I cut them out with my Scan N Cut machine but they’d be easy to fussy cut with your paper snips. The sentiments in the Charming Sentiments bundle have die cuts, so no fussy cutting needed there 🙂
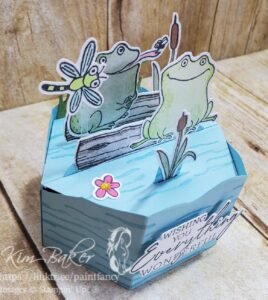
The frogs are 2-step stamps so no coloring needed. You just stamp the color for their body, but you could color them if you wanted to 😉 I colored the flowers, dragonfly and cattails using my Stampin’ Blends.
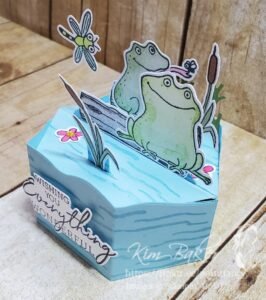
The dragonfly is connected with a snip of window sheet and I added glossy dots to the centers of the flowers.
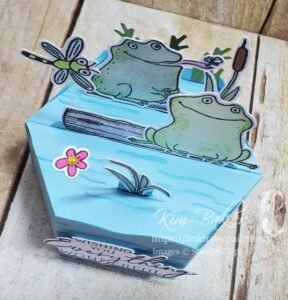
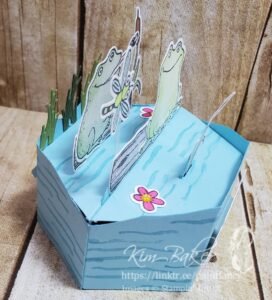
The grass die cuts are from the Playing in the Rain bundle.
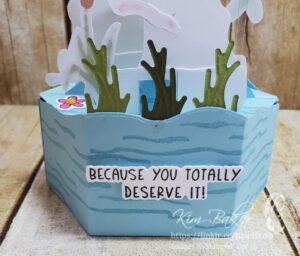
It folds nice & flat for mailing, and I added a bit of white so that you can write a message to your recipient.
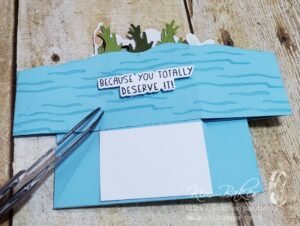
So, what do you think? I hope you love it as much as I do. And, please don’t be shy, I would love to hear from you if you’re reading this and have made it this far.
As promised, the video tutorial:
HAPPY STAMPING!
~Kim~
Product List


Thank you so much for sharing that. it will be a little while before I can make a card like that. I’ve seen on other posts where people are buying a die, but I like how you do yours. You’ve spent lots of time figuring out the dimensions to get everything right, great talent.
Thank you Glenda! It certainly was a labor of ❤️. I appreciate your kind words!
Great project! I’ll give it a try!
Thanks Beth! Would love to see your finished project 🙂
Thank you for your amazing tutorial Kim and for re-sizing it.
I was inspired to give it a try after seeing Arlene Ross (https://whatajmade.blogspot.com) and she shared the link to your tutorial. I’m now subscribed to Kim’s Kreative Korner on youtube.
Thanks again
Sue
Thank you Sue! I’d love to see yours as well, if you’d be willing to share 🙂
YOU are AWESOME❣️🤩❣️🤩❣️ I L💜VE THIS❣️🦉🦉
Thanks Nancy! I’ve got another one coming up for our waddle 😉